Frittata recipe

Hubby was off one Saturday so I decided to make a little more effort for brunch. I browsed through my recipe notebook and found this gem. The first 3 times I’ve made this before I used jarred piquillo peppers, Kalamata olives, and Asiago cheese. This time around though, I was out of all of those. But I did have roasted red pepper, black olives, and Pecorino Romano. They pretty much tasted the same but I can’t be 100% sure since I wasn’t tasting them side-by-side. The end result for both, I feel like, was a tad salty. Although my husband says it was seasoned just right, so I’ve included seasoning the potatoes with salt as an optional step.

Reminder: Beat the egg mixture vigorously to incorporate more air, resulting in a fluffier frittata. No one wants a flat frittata! Think of it this way — frittata is like a deep dish pizza, not thin crust.

Frittata

  • Servings: 2-4
  • Difficulty: easy
  • Print

For the Egg Mixture
ingredients:
• 6 large eggs
• 2 tbsp half & half
• ½ tsp kosher salt
• ¼ tsp freshly ground black pepper
• ¼ tsp garlic powder
• ¼ tsp cayenne
• ¼ cup Asiago or Pecorino Romano cheese, freshly grated

instructions:
1)  Combine all the ingredients in a bowl; beat egg mixture vigorously. Set aside. Preheat oven to 375° F.

For the Filling
ingredients:
• 1 tbsp olive oil
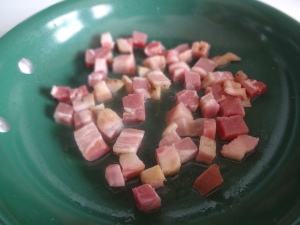
• ¼ lb pancetta, diced
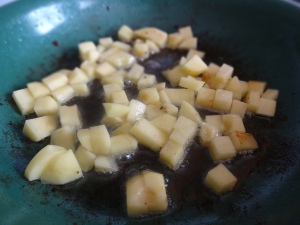
• ¼ lb Yukon gold potato or fingerling potato, diced
• ¹⁄8 tsp kosher salt (optional)
• ¹⁄8 tsp cayenne
• freshly ground black pepper
• 5 black olives, cut to rounds
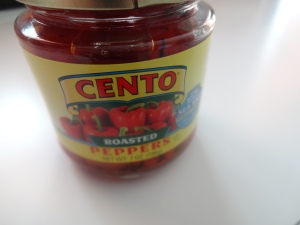
• 2 tbsp jarred roasted red pepper, chopped
• 1 tbsp chives, chopped
• 1 tbsp unsalted butter

instructions:
1)  Heat oil in a 10-inch oven-safe nonstick skillet over medium-low heat. Add pancetta, saute until cooked through, about 4-7 minutes depending on the size of the dice. Remove pancetta to a paper towel-lined plate, leaving the grease in the skillet.
2)  Add potatoes to the same pan still over medium-low heat. Season with salt (optional) and saute until potatoes are cooked through, about 7 minutes.
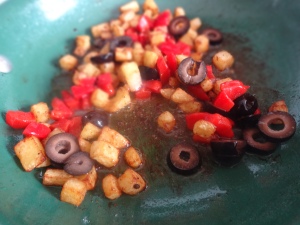
3)  Add olives and roasted red pepper, season with cayenne and black pepper; toss around for 1 minute. Remove all veggies to a plate, leaving the grease in the skillet.
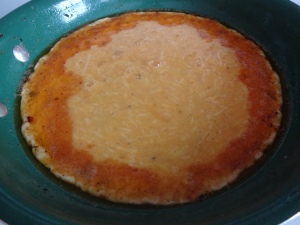
4)  Turn down the heat to low. Add butter to the skillet, making sure to coat the bottom and sides. Pour in the egg mixture. Sprinkle pancetta, veggies, and chives all over the top.
5)  Transfer the skillet to the oven and bake for 8 minutes.
6)  Remove skillet from the oven. Let frittata cool slightly in the pan for 5 minutes. Slide the frittata to a plate and cut to fourths.
7)  Before serving, use paper towels to blot away excess grease on top. Serve with favorite condiment such as ketchup, hot sauce, sour cream, etc.
DSC07274 DSC07276DSC07280 DSC07281DSC07283 DSC07284DSC07289 DSC07305frittata

Crepes recipe

Ahh, crepes. So many recipes out there! You can go sweet or savory. This recipe is sweet, though. When I come up with a savory version, I’ll make sure to share that with you as well!
I let the batter rest in the fridge overnight because, well, I make it at night and we eat it at brunch the next day. If you’re in a hurry, let the batter rest in the fridge for at least 2 hours.

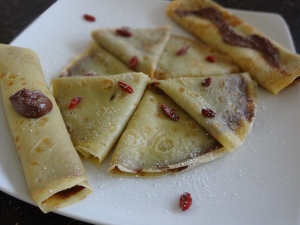
This batter makes 8 crepes. You can serve it stacked, rolled, or folded. Your choice!

Crepes

  • Servings: 2-4
  • Difficulty: easy
  • Print

ingredients:
• 1 cup all-purpose flour
• 1 tbsp sugar
• ¹⁄8 tsp kosher salt
• ¾ cup whole milk
• 3 tbsp unsalted butter
• 2 large eggs
• 2 tbsp Grand Marnier orange liqueur
• 1 tsp vanilla extract
• ¼ tsp grapeseed oil
• ¼ cup water
• unsalted butter for coating

instructions:
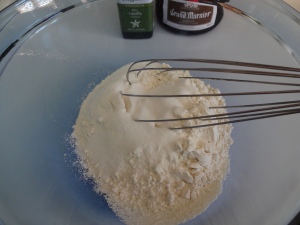
1)  Whisk together flour, sugar, and salt in a large bowl.
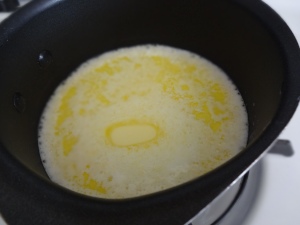
2)  Scald milk and butter in a small saucepan over very low heat. Swirl the pan around to help butter melt. Turn off the heat once butter is melted completely, and let cool down for a bit.
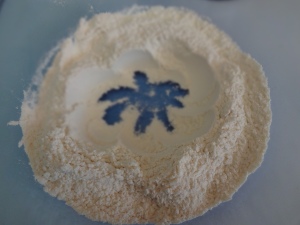
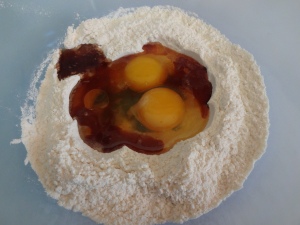
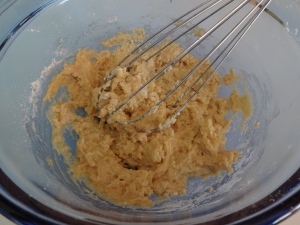
3)  Make a well in the flour mixture. Add eggs in the well, orange liqueur, vanilla extract, and grapeseed oil; whisk vigorously just until the mixture comes together.
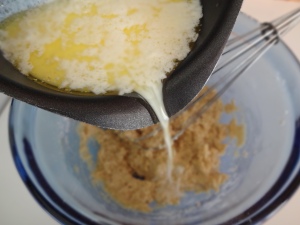
4)  Slowly pour in the milk-butter mixture while whisking the batter (it will still be a bit lumpy). Pour in the water while whisking, and whisk just until the batter’s texture becomes uniform, but do not overmix.
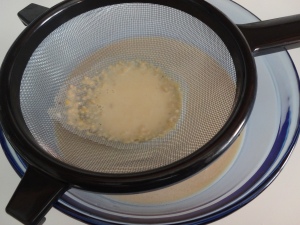
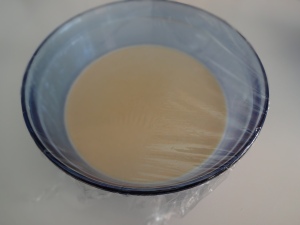
5)  Strain the batter through a strainer (not a fine mesh sieve) into another bowl, cover with plastic wrap and refrigerate overnight.
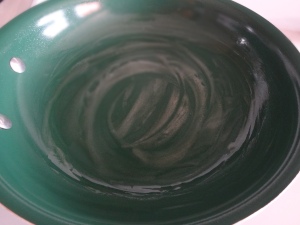
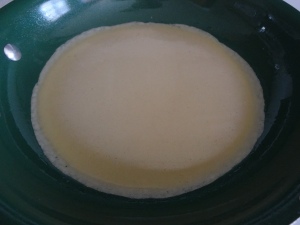
6)  Before cooking, give the batter a stir. Place a 10-inch skillet over medium-low heat and coat with butter. With one hand, add ¼ cup of batter to the center of the pan while the other hand swirls the pan around to get the batter to lay evenly on the pan.
tip: Use a ¼ measuring cup, rather than a ladle. This batter yields 8 crepes.
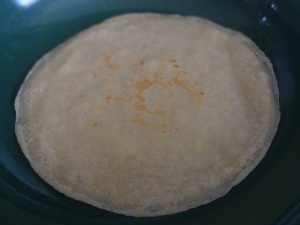
7)  Cook crepe 2 minutes on one side. Just before flipping, shake the pan to loosen the crepe from the pan. Flip crepe and cook for 1 minute. Slide the cooked crepe to a plate. Repeat the process until the batter is gone, coating the pan with butter after each crepe.
tip: If the crepe is browning too fast, reduce heat to low.

Topping Suggestions:
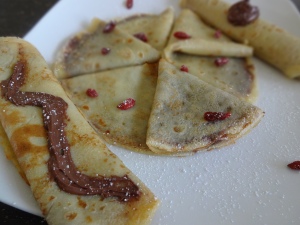
○ Nutella (Italian-made), dusted with powdered sugar
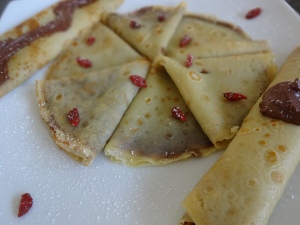
○ Nutella (Italian-made), almond butter, sun-dried goji berries, dusted with powdered sugar
○ Almond butter, fresh berries such as strawberries, drizzle of honey such as acacia, dusted with powdered sugar
○ Chocolate spread, crushed graham crackers, whipped cream, dusted with powdered sugar and/or cocoa powder
○ Mascarpone, fresh berries such as strawberries, chocolate drizzle or caramel
○ Nutella (Italian-made), nuts such as walnuts, scoop of ice cream, drizzle with hot fudge or caramel
○ Drizzle of honey such as orange blossom, chocolate chips or shavings, orange segments
○ Nutella/Chocolate spread/Almond butter, banana, dusted with powdered sugar
Cannoli Cream, orange zest
○ Et cetera!


DSC03130 DSC03132DSC03133 DSC03134DSC03135 DSC03136DSC03140 DSC03141DSC03142 DSC03143DSC03144 crepesDSC07006 DSC07020

Brunch Sushi Roll recipe

Hey, guess what? Are you familiar with the saying, “Give a man a fish and you feed him for a day. Teach a man to fish and you feed him for a lifetime.” ?? Well, I’m going to teach you how to make sushi rice, and you can use that rice to make so many types of sushi you like!

I’ve had tamago rolls before but I’ve never seen bacon in a sushi roll. So the logical thing to do is to put bacon inside that roll! Not really, I just had 2 strips of bacon left in the fridge and they were looking pretty sad so I decided they needed to be in my tummy fast! If I ever see this recipe (my recipe) or some variation of it anywhere, I will take that as a compliment. Ooh, that would be so cool!

Brunch Sushi Roll

  • Servings: varies
  • Difficulty: intermediate
  • Print

For the Sushi Rice
ingredients:
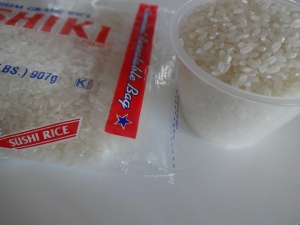
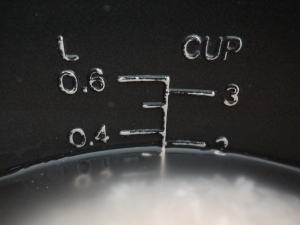
• 1½ rice cooker cup sushi rice (1 rice cooker cup = 180 ml)
• 2 cups water
• 2″ x 2″ piece of kombu (optional)
• 4 tbsp rice vinegar (no sodium & no sugar)
• 2 tbsp granulated cane sugar
• 1½ tsp kosher salt

instructions:
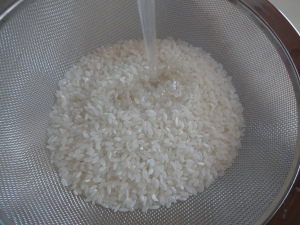
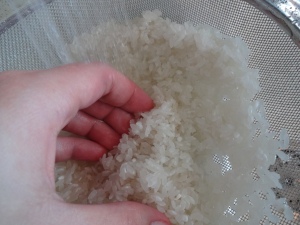
1)  Put rice in a fine mesh strainer and rinse under not-too-cold running water. Gently swish the rice around with your hand. Rinse rice until water runs clear, about 2 minutes. Drain rice very well by shaking the strainer. Leave the rice in the strainer for 30 minutes to 1 hour before cooking.
2)  Transfer rice to your rice cooker, add 2 cups water (just under the number 2 line on the pot), kombu (if using), and turn the setting to “Cook”. Once the rice cooker switches to “Warm” setting, set the timer for 15 minutes. Meanwhile, make the vinegar seasoning.
3)  Add vinegar, sugar, and salt in a microwave-safe bowl. Microwave for 30 seconds, then stir until most of the sugar and salt are dissolved. Put the bowl back in the microwave for 15 seconds, then stir well until you don’t feel any more grains. Set aside.
tip: Alternatively, you can add vinegar, sugar, and salt in a small saucepan over low heat, stirring until sugar and salt are dissolved. Off the heat.
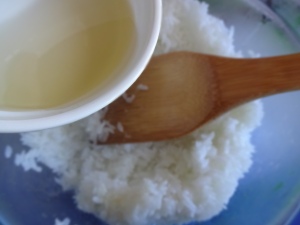
4)  When the 15-minute timer goes off, transfer cooked rice to a large wooden bowl (or glass bowl) and spread it out. Drizzle the vinegar mixture onto a wooden spatula while moving the spatula back and forth all over the rice to evenly distribute the seasoning.
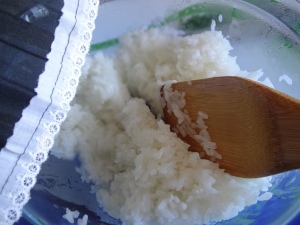
5)  With one hand, use a slicing motion with the spatula to separate the grains while mixing in the seasoning, while the other hand fans the rice to help dry it. Gently fold in the rice, but don’t mash down, and continue the slicing motion to coat the rice grains with the seasoning. Fan the rice the whole time.
tip: Place the bowl over a damp towel to keep it from sliding off.

For the Omelette
ingredients:
• 3 eggs, beaten
• sea salt, to taste
• freshly ground black pepper, to taste
• gochugaru (Korean chili flakes), to taste
• non-stick spray

instructions:
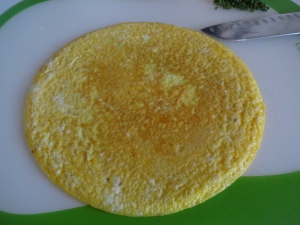
1)  Spray a skillet with non-stick spray and place it over low heat. Pour in the eggs and swirl the skillet to ensure the eggs are laid evenly. Sprinkle the top with salt, pepper, and gochugaru. Cover the skillet and cook for 5 minutes or until the top of the egg is set. Transfer to a plate or work surface/cutting board.
tip: After 3 minutes in to cooking, check the bottom of the eggs to make sure it isn’t browning too much. Touch the top to test for wetness; if it’s still wet, cook longer with the lid on until the top is dry to the touch. You can also use a rectangular pan (tamago pan) if you have it.

For the Bacon
ingredients:
• 2 bacon strips, preferably thick cut

instructions:
1)  Take bacon out of the fridge while the eggs are cooking to let come to room temperature. Place bacon in a skillet over medium-low heat. Cook on both sides just until cooked through but still pliable (not to a crisp), about 4 minutes per side. Transfer to a paper towel-lined plate to drain excess grease.

Other Ingredients
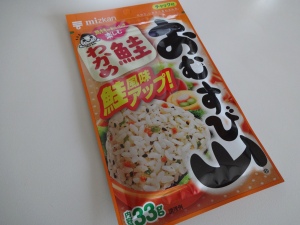
• furikake
• 5 chives, chopped (some for garnish)

To Assemble:
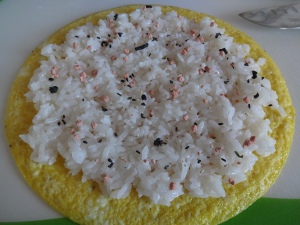
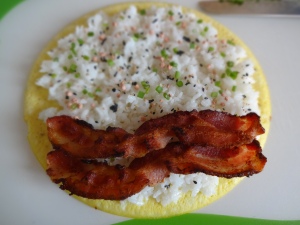
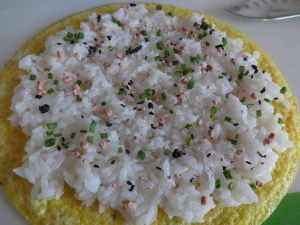
○ Place the omelette, seasoned side down, on a work surface. Add some rice, spreading it out in a thin layer. Sprinkle furikake all over the top, followed by chives. Place bacon on the edge closest to you; lift that edge and fold it over the bacon. Continue to roll slowly but snugly, not too tight.
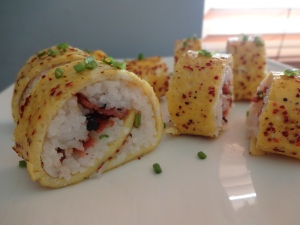
○ Run your knife under warm water. Cut the roll into sixths or eighths. Place rolls on a platter and garnish with chopped chives.

note: You can make other types of sushi with the leftover rice. To store sushi rice, place it in a glass container with a lid and refrigerate; use within 3 days.


DSC06312 DSC06313DSC06314 DSC06319DSC06320 DSC06332DSC06337 DSC06339DSC06341 DSC06328DSC06342 DSC06344DSC06595 DSC06607DSC06608 DSC06611DSC06620 brunch sushi roll

Miso Ramen with Soft-Boiled Egg recipe

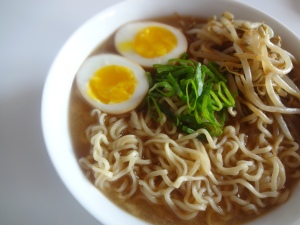
I love ramen! No, seriously, even on a hot day! Even better when you make it yourself! Don’t worry, you won’t need to actually make the noodles for this ramen but you do need to make the broth. Here is the recipe, it’s enough for 3 ramen servings! You’re welcome.

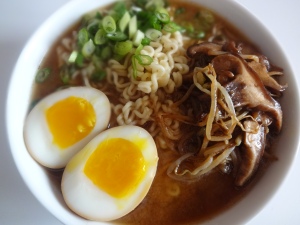
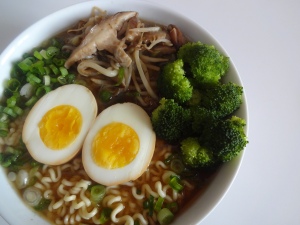
You can play around with the toppings. Check out the 3 versions I made below.

Miso Ramen with Soft-Boiled Egg

  • Servings: 1
  • Difficulty: easy
  • Print

For the Egg
ingredients:
• 1 egg, room temperature
• water
• 1 tsp white vinegar
• 1 tbsp low sodium soy sauce
• 1 tsp sake
• 1 tsp mirin
• ¼ tsp sesame oil
• ¼ tsp baking soda

instructions:
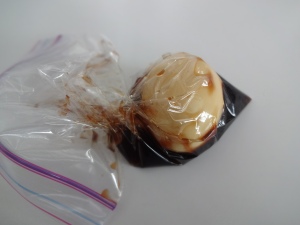
1)  In a small zip top bag, add the following ingredients: soy sauce, sake, mirin, and sesame oil. Seal the bag and shake to mix the marinade. Set aside.
2)  Add water and vinegar in a saucepan, bring to a boil over medium-high heat. Once boiling, carefully add the egg by using some type of spoon to lower it in the water. For soft-boiled egg, cook for 3-4 minutes. For medium-boiled egg, cook for 6-8 minutes.
3)  While holding the egg back, quickly drain the hot water. Add baking soda in the pan and place it under cold, slow running water for 2 minutes. You can also transfer the egg to an ice bath with baking soda for 2 minutes, if you prefer. Remove the egg from the cold water, give it a gentle tap all the way around then peel.
4)  Add the egg into the marinade, squeeze as much as air as you can out of the bag, then seal. Marinate in the fridge up to 24 hours, or use it immediately after making the ramen.
5)  Remove egg from the marinade, discard marinade. Slice egg in half and serve on top of ramen.
tip: For soft-boiled egg, keep it whole and break it apart in the bowl so you won’t lose any of the yolk.

For the Miso Ramen
ingredients:
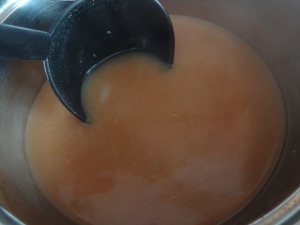
• 2 cups homemade pork broth (recipe here)
• 2 tbsp Hikari Dashi Iri Genen Miso
• 1 tsp low sodium soy sauce

instructions:
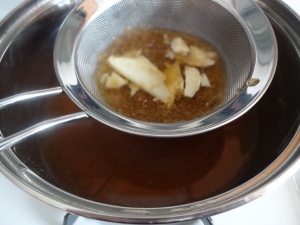
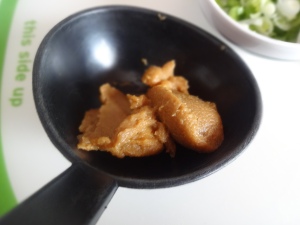
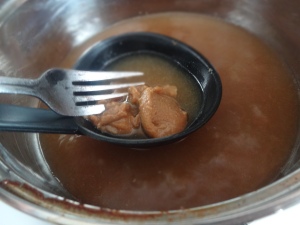
1)  Strain the pork broth into a medium saucepan. Bring to a boil over medium-high heat. Once at a rolling boil, turn off the heat. In a ladle, add miso and some broth and stir with a fork until miso is dissolved. Combine the miso mixture with the rest of the broth and add soy sauce. Turn the heat on and bring to a simmer (do not boil!) for 2 minutes. Meanwhile, start cooking the noodles.

For the Noodle
ingredients:
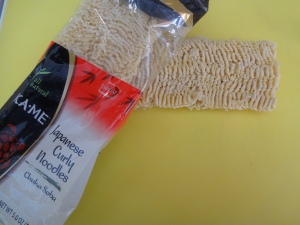
• 1 serving Japanese Curly Noodles Chuka Soba
• water

instructions:
1)  Add water in a medium saucepan and bring to a boil over medium-high heat. Add noodles, cook for 3 minutes. Drain noodles well and transfer it to a bowl. Ladle in some broth, add egg halves and other toppings of your choice.


DSC05053 DSC05060DSC05211 DSC05203DSC05214 DSC05216DSC00642 DSC05066miso ramen with soft-boiled egg DSC05813

Japchae recipe

Japchae is a Korean noodle dish, often served at family gatherings and festive occasions. It can be served as the main dish, or as a side over a bed of rice. Traditionally, the meat and each vegetable is stir-fried separately. But who has time for that nowadays? I made an easier version and I think you’ll appreciate that.

I often see Japchae with beef, but honestly, I prefer it with chicken. I’ve never seen Japchae with chicken so I decided it was my mission to introduce the the two-legged creature to this popular Korean dish. I also think that Japchae is a lot tastier when it isn’t too sweet. My husband thinks the same and he also likes it spicy, so he drizzles Sriracha on his. Don’t ask me what that taste like, I haven’t tried it.

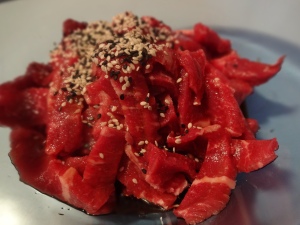
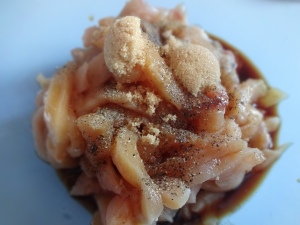
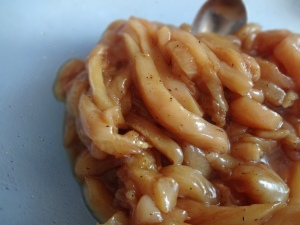
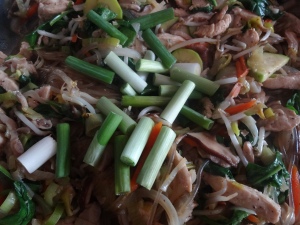
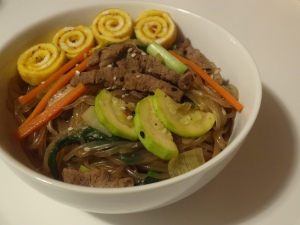
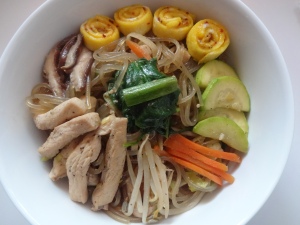
In the pictures below, I show you the 2 different versions. One with beef and sesame seeds, and one with chicken.

A couple of notes:
– I only use toasted/roasted sesame oil. Read the ingredients on the label.
– I used Kikkoman Less Sodium Soy Sauce.
– To toast sesame seeds, put seeds in a dry pan and place it over medium heat. Toss often to prevent it from burning. Once it starts to pop, reduce heat to low and continue to toast until fragrant and golden brown, stirring the seeds the whole time.

Japchae

  • Servings: 4-8
  • Difficulty: intermediate
  • Print

For the Steak or Chicken
ingredients:
• 1 lb sirloin steak or thin sliced chicken breast
• 2 tbsp low sodium soy sauce
• 2 tsp brown sugar
• 2 tsp sesame oil
• 1 tsp mirin
• ¼ tsp ground black pepper
• 2 tsp toasted sesame seeds (optional)

instructions:
1)  For the steak: Partially freeze steak by putting it in the freezer for 30 minutes. After that, thinly slice steak against the grain and on a bias and into 2-inch length strips.
For the chicken: Slice chicken into 2-inch length strips.
2)  Put the meat in a bowl. Add the rest of the ingredients and massage the marinade into the meat. Let marinate for 30 minutes to 1 hour on the kitchen counter, or cover with plastic wrap and refrigerate to marinate longer.
tip: If marinating in the fridge, remove the meat out of the fridge to bring to room temperature 15 minutes before cooking. It’s best to marinate for at least 4 hours.

For the Noodle
ingredients:
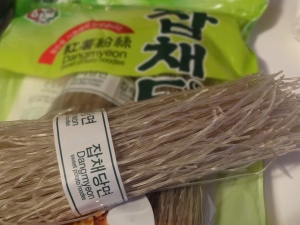
• 1 bundle dangmyeon (sweet potato starch noodles)
• water
• 2 tbsp low sodium soy sauce
• 1 tsp sesame oil
• ¼ tsp ground black pepper

instructions:
1)  Bring a pot of water to a boil over medium-high heat. Add the noodles and cook for 4 minutes. Drain noodles and rinse under cold running water for 3 seconds.
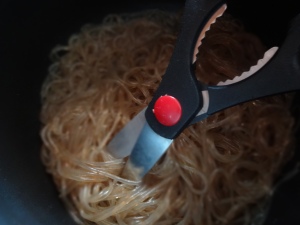
2)  Put noodles back in the pot, then season with soy sauce, sesame oil, and ground black pepper; toss to coat. Using kitchen shears, cut the noodles several times. Set aside until ready to use.

For the Omelette
ingredients:
• 2 eggs, beaten
• sea salt or kosher salt, to taste
• freshly ground black pepper, to taste
• Korean chili flakes (gochugaru/kochukaru), to taste
• non-stick spray

instructions:
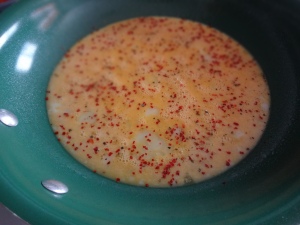
1)  Spray a skillet with non-stick spray and place it over low heat. Pour in the eggs and swirl the pan to ensure eggs are laid evenly on the pan. Sprinkle the top with salt, ground black pepper, and gochugaru. Cook for 5 minutes or until eggs are set. Let cool in the pan until ready to use.

Japchae Vegetables
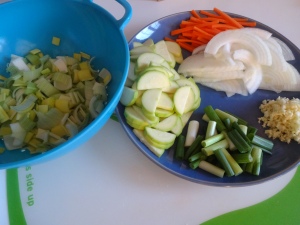
ingredients:
• 2 tbsp grapeseed oil (or any neutral, high smoke point oil such as canola)
• half of an onion, sliced
• 1 leek, chopped & rinsed (white & light green parts only)
• 1 carrot, julienned
• 4 garlic cloves, minced
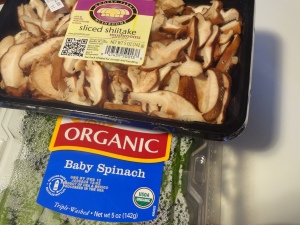
• 5 oz sliced shiitake mushrooms
• 1 zucchini, cut to half moons
• 5 oz baby spinach
• 4 oz bean sprouts
• 2 tbsp low sodium soy sauce
• 1 tbsp sesame oil
• 1 tbsp brown sugar
• 1 tsp kosher salt, divided use
• 1 tsp ground black pepper
• 3 scallions, cut to 1-inch length

instructions:
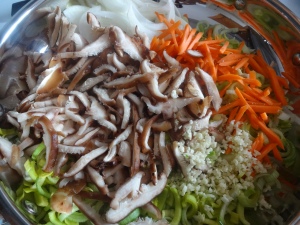
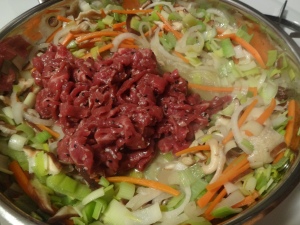
1)  Heat oil in a wok or a large pan over medium heat. Add onions, leek, carrot, shiitake, garlic, and ½ tsp salt; cook for 5 minutes.
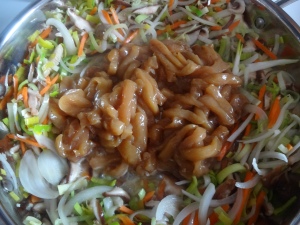
2)  Increase heat to medium-high and move all the veggies to the sides creating a hole in the middle for the meat. Add meat, including any marinade left in the bowl. Let the meat sit for 1 minute before tossing it around with the veggies; cook for 2 minutes.
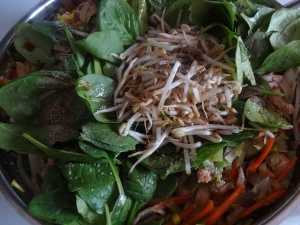
3)  Reduce heat back to medium and move everything to the sides again. Add zucchini, baby spinach, bean sprouts, soy sauce, sesame oil, brown sugar, ½ tsp salt, and ground black pepper. Cook for 3 minutes or just until spinach is wilted.
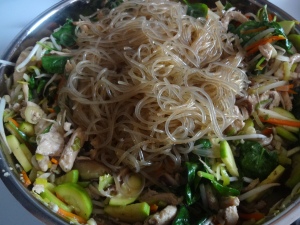
4)  Add dangmyeon; cook for 1 minute to heat through. Add scallions and cook for 1 more minute.

To Assemble:
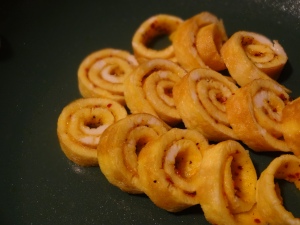
○ Slide the omelette onto a cutting board. Roll it up then slice.
○ To serve family-style, transfer Japchae to a serving platter and garnish with omelette rolls. For individual servings, add a serving of Japchae in a dish and garnish with a few omelette rolls.
○ Garnish with toasted sesame seeds and sliced scallions, if desired.
○ Serve with rice and slivers of chili, if desired.


DSC05079 DSC05712DSC05714 DSC05076DSC05077 DSC05086DSC05721 DSC05722DSC05718 DSC05090DSC05724 DSC05099DSC05726 DSC05727DSC05728 DSC05729japchae with beef japchae with chicken